Posting Journal Entries
Journal entries are transactions that indicate the transfer of an amount from one ledger to another without involving physical movement of the amount. Journal entries are also regarded as Non-cash transactions. An example of these entries could be a transfer of expected income to income.
1. Log in to the Wakandi Admin Panel.
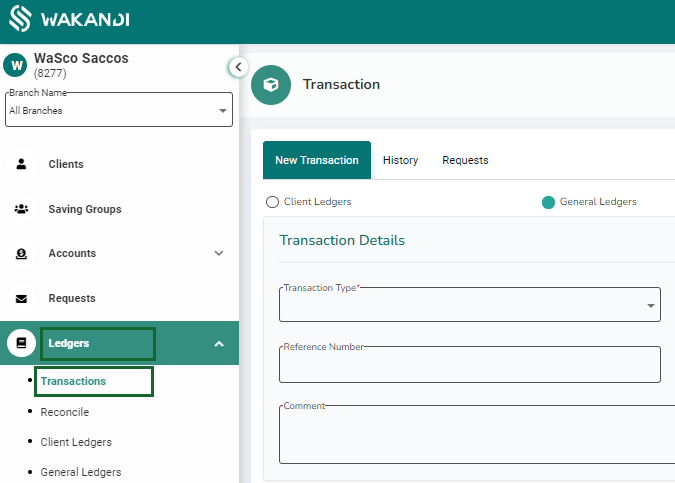
2. From the side menu, select Ledgers…
3. And on the dropdown menu select Transactions.

5. From here you will be able to view a simple interface for posting all your general ledger transactions. Since we are posting general ledger transactions be sure General Ledgers is checked.
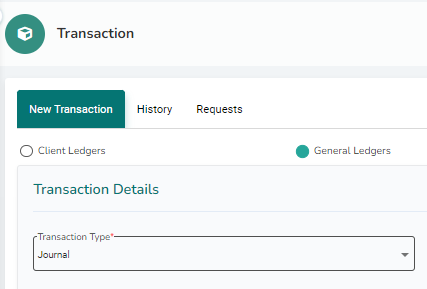
6. Now the general ledger fields should be visible, on the transaction type select Journal.

7. Select the date that the transaction was made.
8. You can add the reference number for easier reconciliation.
9. Leave a short comment on what the transaction is about, this will also help during reconciling.

10. On the Transaction fields below, we will be selecting the ledgers that were affected by this transaction.
11. In the case of Journal entries means Sacco has made a Non cash transaction this might be realising expected income. So from DR/CR field we will select the DR from the dropdown, to show one of our general ledgers has been debited.
12. Next, we will select the ledger that was debited from the accounts field, this could be an expected income ledger.
13. You will be able to view the current balance of the ledger on available balance, from here we can enter the amount on DR amount, as we are debiting the ledger selected, then click Add button to save this entry.

14. Now another field will be visible, here we need to select the ledger that was debited, so we select CR on the DR/CR field, as we will be crediting the other ledger.
15. Then on accounts we choose the ledger that was debited, an example could be an income ledger ledger that has been recorded.
16. Since we are now crediting, we will enter the amount on the CR field to have a balanced entry, then click on add on button to save the entry.

17. Now confirm the transaction has balanced on the Debit and Credit fields and click on submit.

Done! You have successfully completed a Payment general ledger transaction. A green pop notification will appear on the top left to let you know you have successfully posted an entry to general ledgers.

