Teller balance reconcile
At the end of the day, the teller has to reconcile all the transactions made and balance all the debits and credits throughout the day.
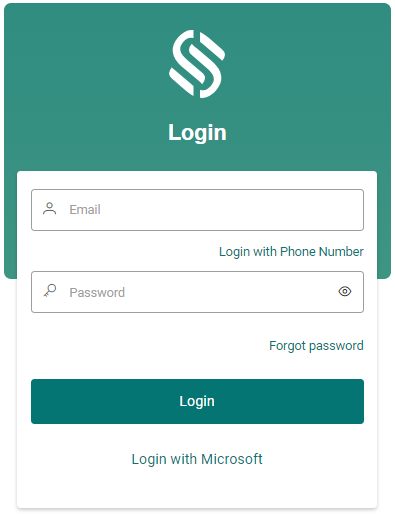
1. Log in to the Wakandi Admin Panel.

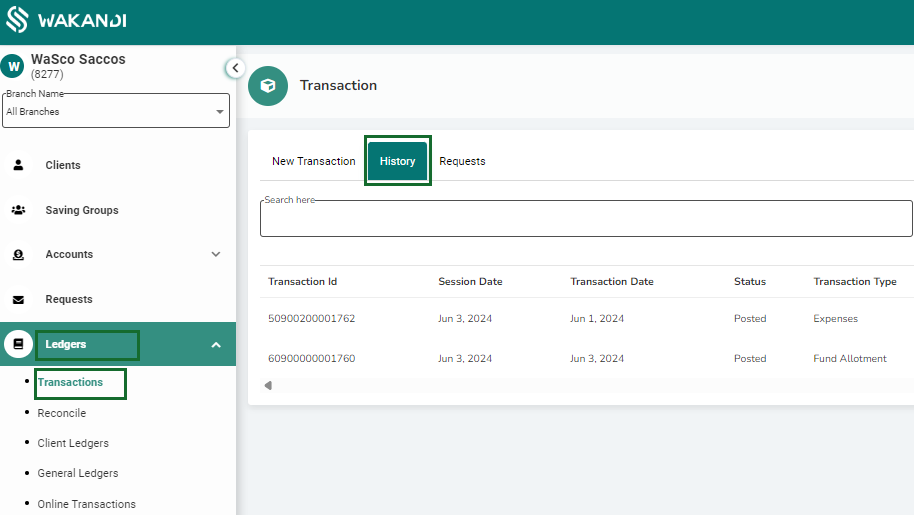
2. From the side menu select Ledgers..
3. Click on Transactions from the dropdown menu.
4. From here you should be able to view the transactions module for posting all types of transactions.

5. Click on the history button from the menu bar on the top side of the transaction page.
6. This will enable you to view all the transactions that have been posted all throughout the day. From here you can review all transactions and crosscheck for any errors on the transactions, this will is crucial step during reconciliation as you could easily spot an error and correct it..
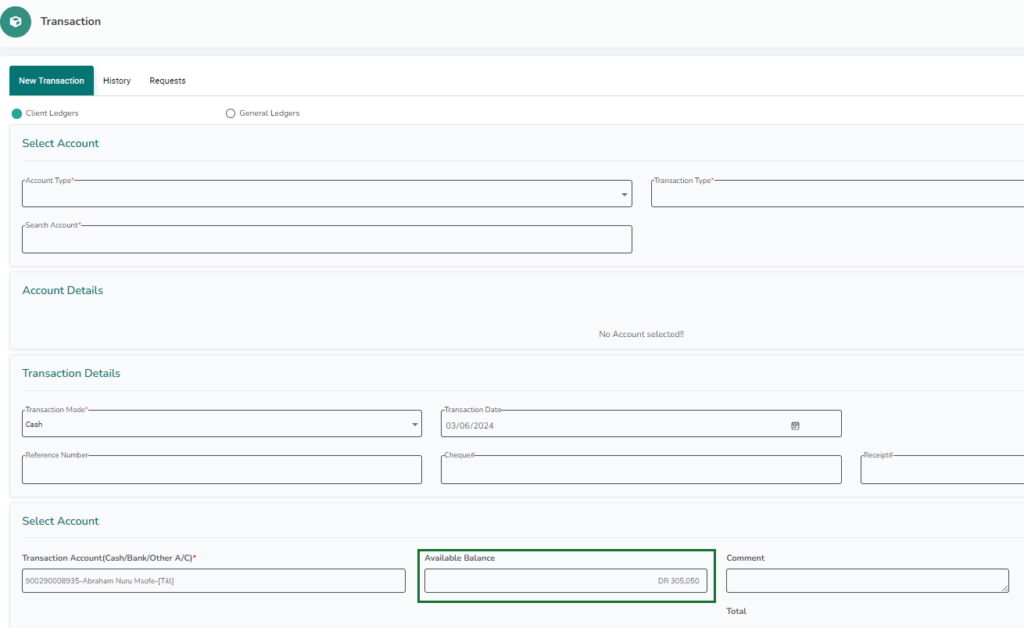
7. After reviewing all the transactions make sure the debit and credit side are matching, then return to the transactions page by clicking on new transactions on the menu bar.

8. Next, compare the amount displayed on the available balance in transaction details against the amount remaining in physical cash. This amount should tally. Any mismatch will mean a mismatch in the transaction recorded. Follow the error-correct procedures to correct the mismatch.

9. After ensuring the debit and credit transactions match and comparing the balances, you have successfully completed the teller’s balance reconciliation.
