How to export AML analytics
Summary
Pull a rule performance summary or a transaction export for a date range you choose. About 3 minutes · 5 steps. Also called: AML reports, export, rule statistics.
Sign in with your email to read the rest of this article, track what you have finished, and earn your certificate.
Sign inPrerequisites
- A sign-in for Wakandi AML Risk Monitoring.
- The period you want to cover. A start date is required.
Step-by-step
- Open Wakandi AML Risk Monitoring and sign in.
- In the top menu, click Analytics.
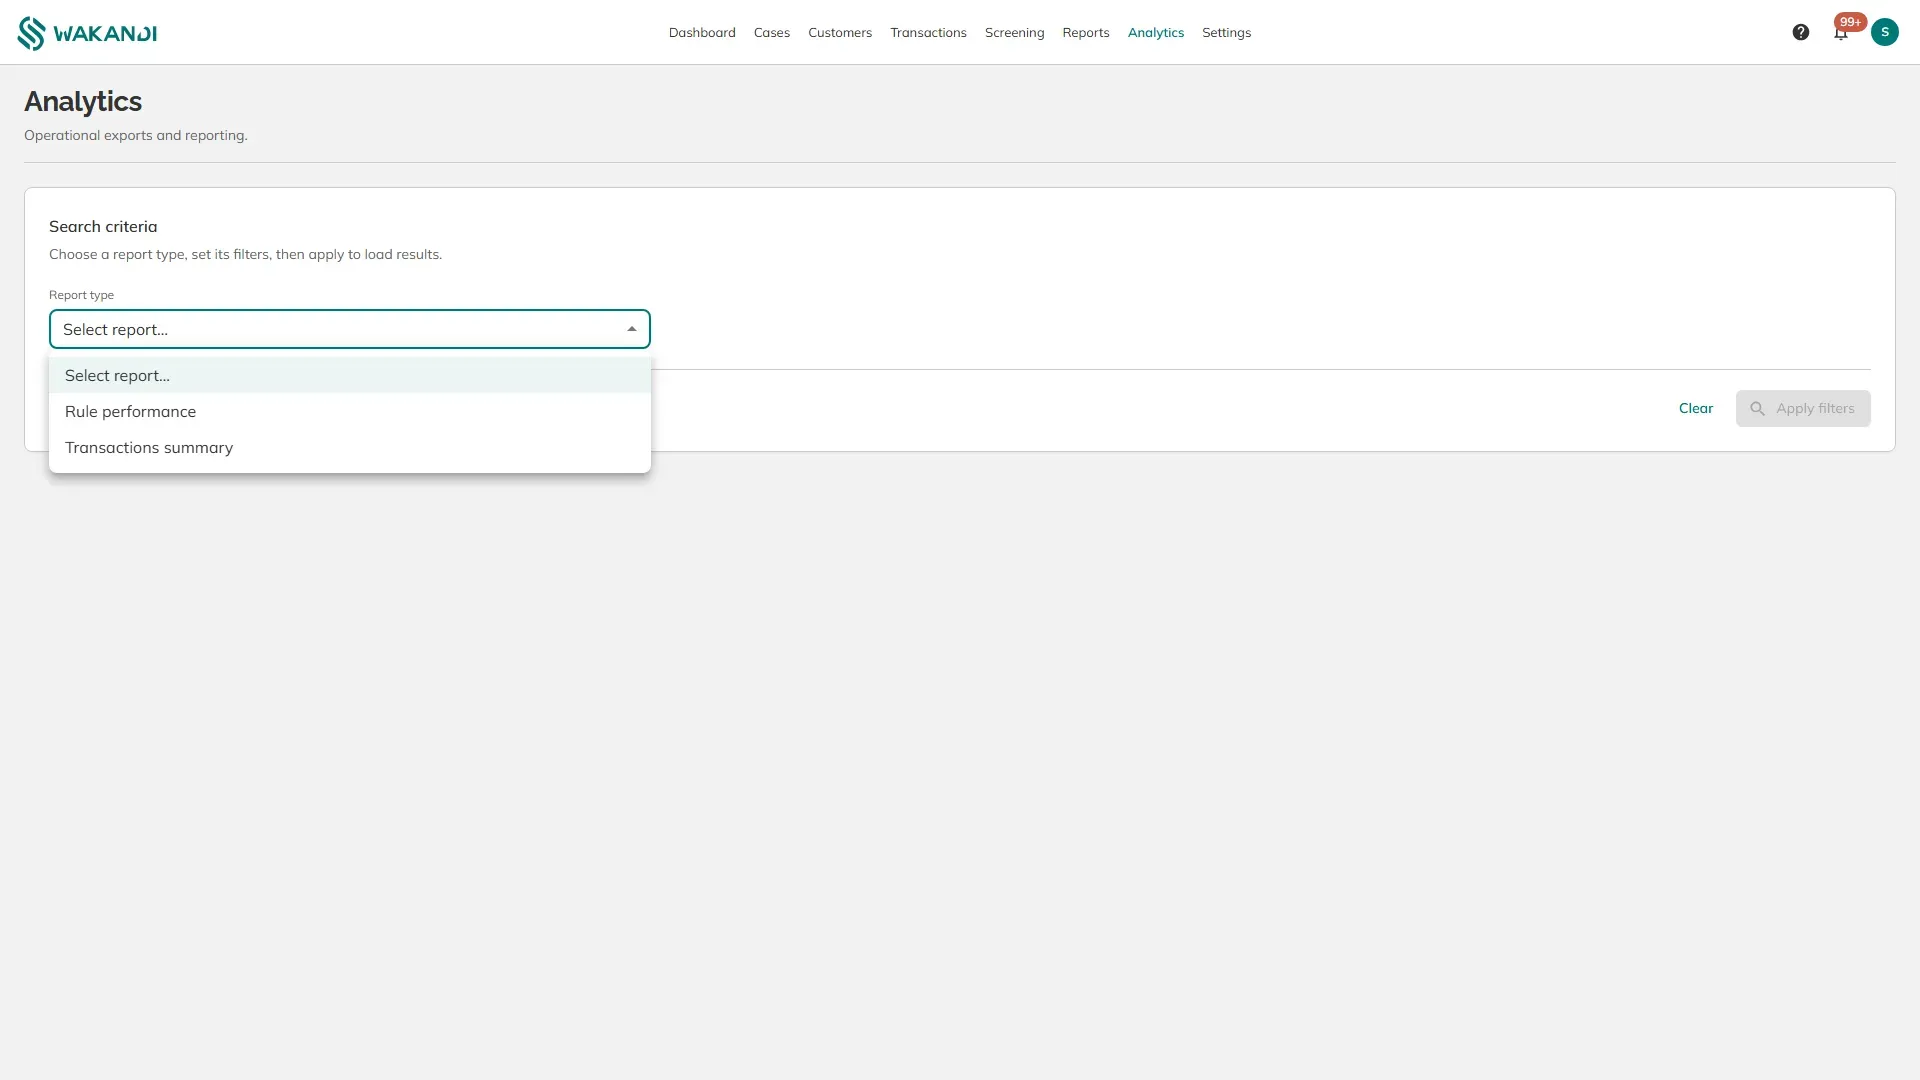
- Click Report type and choose one.
- Fill in the filters that appear. They change with the report you picked.
- Click Apply filters. The results load underneath.
The two reports:
Rule performance. How many times each rule was evaluated and how often it matched, over the period you set. Use it to find a rule firing far more than the rest, which usually means its threshold sits below normal member behaviour rather than that your members changed. Filters: Date from and Date to.
Transactions summary. A table of monitored transactions for a date range, which you can narrow to one member. Use it when an auditor asks for a period, or when you are reviewing one member's activity in full. Filters: Date from, Date to, Customer ID and Row limit.
Row limit caps how many rows come back. Set it high enough to cover the period, or the export will be cut short without telling you.
Note: Date from is required on both reports. Clicking Apply filters without it shows "Date from is required" and nothing loads.
Common pitfalls & FAQ
- Nothing happened when I clicked Apply filters. Look for "Date from is required" under the criteria. The start date is not optional.
- The export stops part way through the period. Raise Row limit, or split the request into shorter date ranges.
- The numbers do not match the dashboard. The dashboard counts fixed windows, the last 30 or 90 days, while here you set the dates yourself. Compare the same period before assuming a mistake.
- I need a different report. Only these two exist today. Tell your Wakandi representative what you need and why.